Showing posts with label white chocolate. Show all posts

Hollow 3D Figures

While I didn't pursue a professional chocolatier program until 2018, my first introduction to chocolate making came while I was around ten or eleven years old and part of a Girl Guide troop. One Wednesday night, we gathered in the basement of the Salvation Army temple and our troop's leader demonstrated how to make various solid and filled bonbons. Of course, she was using Wilton candy melts (compound chocolate) instead of "real" chocolate, so there was no tempering involved, but we learned processes for shelling, filling, and capping. I remember the chocolate being kept warm with an electric skillet, the molds being painstakingly painted with a Testors paint brush (the kind you use on model cars), and the can of condensed milk that had been transformed into caramel by boiling it. I was hooked. And my dear parents indulged my interest, taking me to the religious book and bible shop in the mall, which for some reason was the place to buy candy melts and molds. 

I've come a long way since then. But every now and then I think back to one of the techniques she talked about that night -- creating hollow 3D figures. She described two-part molds that snapped together. You would pour some chocolate in one piece, snap them together, and then rotate to coat the mold until the chocolate solidified. It sounded easy enough, and at some point I used my allowance to buy a 3D Christmas tree and a 3D Santa mold, but I never tried it.

While hollow 3D figures wasn't part of my professional chocolatier program, as I engaged in research for various assignments, I stumbled upon videos demonstrating how 3D molds are used in factories. Instead of clipping or snapping together, the molds are now commonly held together with magnets. And instead of a person rotating them by hand, they are placed on a machine that slowly rotates in multiple directions. Smaller, artisanal shops may have 3D molds that aren't fully enclosed when clipped together. They fill them with chocolate, let them sit for a few minutes, and then pour out the excess chocolate to leave a hollow figure. 

The production, of course, is a little different if you want to have a surprise in the centre of the hollow figure, like M&Ms or Smarties. Anyone who's made hot chocolate bombs knows this process: mold the two pieces separately, add your fillings to one side, and then attach the other half either by melting it a little on a hot pan or by "gluing" it into place with more chocolate. I've made cocoa bombs before, including some Grinch-inspired ones with a friend -- but I've never made a one-piece, hollow chocolate figure. Until now. 

This week, on chocolate night, I decided to try it. I have a few egg molds that can be combined for this purpose. I grabbed some white chocolate left over from Christmas, prepared it using the direct tempering method, and poured it into one half of the mold. With binder clips, I secured the other half and began rotating. Once I was confident the chocolate was well distributed, I let it sit for a minute and then flipped it over and let it sit for another minute. Then I tossed it in the fridge to set. Fifteen minutes later, I pulled it out and was saddened to find I couldn't unmold it. I thought perhaps I'd messed up the temper. I made the mistake of using too much force and I cracked the egg in half. Still unable to get the chocolate out, I put it in the freezer for 5 minutes and the two halves then popped out cleanly. The next day, it was clear that the chocolate had been in perfect temper, but I had been too impatient. So I tried again.

My second attempt was with leftover dark chocolate. I repeated the process, but this time when I took it out of the fridge, instead of trying to unmold it, I popped it into the freezer immediately for a quick cold "shock." And the hollow egg unmolded perfectly! Huzzah!

Pleased as punch, I set it aside on a crumpled paper towel so that it wouldn't roll around. And then I turned my attention to "fixing" the white chocolate one. I could have melted down the chocolate and molded the egg again, but instead I decided to put a surprise inside. I took the first half of the egg and smoothed the edge by melting it on a hot frying pan. Then I filled it with candy before smoothing the second half and applying that on top while the chocolate was still melted. I patched the bottom with a little melted chocolate. Voila! Done. 

I'm very excited with how these turned out and for the possibilities going forward. The only challenge I have now is that the foil I usually wrap chocolates in isn't big enough for this jumbo Easter egg. Consequently, I'm going to need a creative packaging solution. But there's plenty of time to sort that out by Easter. 


White Chocolate Hearts

As I thought about what I should make for Valentine's Day this year, I realized that I had a large quantity of white chocolate left from my Christmas production run. Since several people in my circle love it, this seemed fortuitous. But it also presented a challenge. White chocolate is far more temperamental than milk or dark chocolate. It's easy to overheat it and difficult to work with. I decided it would be good practice and went to my stash to pick out a mold.

Originally, I was thinking about using one of the large heart lollipop molds that I have and making a solid piece. But that seemed pretty basic and I also didn't have any long lollipop sticks. As I shuffled through my options, I noticed a mold that I had forgotten existed. I'm not even sure where I got it, but it's clear from the fifty cent tag that I had picked it up at a bargain. Perhaps it came from the shop on Charlotte Street that closed several years ago. Perhaps I found it at a flea market. Whatever its origin, I knew I had only used it once to create treats for the CIBC Run for the Cure (I served as volunteer coordinator one year).

I pulled it out and examined it, trying to determine if it was deep enough to be filled with something. I figured it would work if I could keep the filling to about 1/4 inch thickness. I set about tempering the white chocolate and shelling the mold. Because it is flexible plastic instead of the polycarbonate molds professionals use, it was a little more challenging to shell properly. Nevertheless, about 15 minutes after shelling it, I confirmed the temper of the chocolate. Success!

Then I needed a centre. Inspired by the white chocolate Reese peanut butter cups and remembering how delicious the white chocolate peanut butter bark was that I made a few years ago for Easter, I settled on a peanut butter filling. I heated it up to be more liquid and discovered it was about two degrees too hot to pipe into the shells. I waited for the temperature to drop to a safer range and then piped the filling into the deepest part of the mold. I left it to set up, fully intending to cap them the following day. When the weather cancelled my evening plans, however, I reconsidered. I tempered another quantity of white chocolate, capped the hearts, and set them in the fridge to set for 15 minutes. Mercifully, when I took them out, I found that the caps were also in temper. 

After flipping the mold over and popping out the hearts, I was surprised by the colour of the chocolate. The shell was so thin that the peanut butter was visible through it, but it didn't crack and I couldn't see any sign of fat migration (yet). The contrast between the peanut butter filled heart and the solid white chocolate flames at the top lent some interest to an otherwise plain confection. I left them on a tray at room temperature for 24 hours to fully crystallize. 

Before the big love day, I wrapped each heart in red foil and placed a sticker on the back. (I also accidentally put my thumb through the delicate shell of one -- a perfect excuse to sample my work.) Voila! This year's Valentine's Day creation. Sure, it's not as complicated as last year's artistic dulce de leche espresso hearts. But these are a white chocolate and peanut butter lover's dream. Sometimes less really is more.

Happy belated Valentine's Day, y'all!

Curry Spice Chocolate

While home in Newfoundland this summer, I purchased a number of chocolate bars by Jacobean Craft Chocolate, a bean-to-bar chocolate maker located in Mount Pearl. Recently, I tried one of their white chocolate creations -- a Curry Spice bar. 

I have to say that I find the packaging of Jacobean Craft Chocolate to be very appealing. I love the colours and the graphic design.

I will admit that when I purchased this bar, I didn't realize it was white chocolate, despite the fact that it says "golden white" on the label. You see, when I arrived in Woody Point, the only store on the west coast selling Jacobean had four bars left. So I did what any self-respecting chocolatier would do -- I bought them all without giving it a second thought!

Opening the wrapper, I was surprised first by the scent of the bar. I could smell curry. Not something similar to or reminiscent of curry, but actual curry. And then I saw the colour of the bar. It almost looked like one of the curry roux preparations that I buy in the local Asian grocery store. It had the characteristic yellow colour with flecks of spice throughout. It was unusual and unexpected. 

The packaging describes the bar as follows: "The bar has BOLD flavours, a very pronounced beginning and end, the cumin | ginger | turmeric provide the base profile while the chili flakes and black peppercorn add the tingle." These tasting notes are accurate.

The earthy flavour of the cumin and the warmth of the ginger come through first. Then the peppercorn and chili flakes take the lead, providing more than a little tingle on the tongue. Finally, that tingle fades and what remains is, once again, the warmth of the ginger. And it lingers.

This is an incredible flavour experience.

Now, let me be clear: this isn't your everyday bar. You aren't going to snack on this while watching a movie or even mindfully enjoy it while sipping a coffee. I don't think it's possible to eat more than a single square at once (which perhaps makes it the ideal chocolate bar for anyone who is counting calories...). But it's entirely worth trying for the flavour profile and sensation on the tongue. It's perfect for a chocolate tasting experience or as fun chocolate course at a themed dinner party. (The chocolate course is a thing, right?)

For someone studying chocolate, this is a masterclass. 
 

Picture it: Sydney, 2023

In these days of influencers and Instagram, it's common for content creators to project perfection. From flattering angles and elaborate set ups, to expensive equipment and special filters, the content we're being fed doesn't just seem unattainable, it is impossible. Still, many of us consume it like a Reese peanut butter cup (that is, we devour it and want more). 

If that's what you're looking for, my friends, then I'm sorry to inform you that you've come to the wrong place. I don't have special lighting. I don't have the patience to spend more than a minute positioning something for a photo. I'm not going to remove every background object in the camera's view so that you aren't distracted by visual clutter. And I don't hide my fails -- mainly because I hope that as you read about them, you have a bad laugh at my expense.

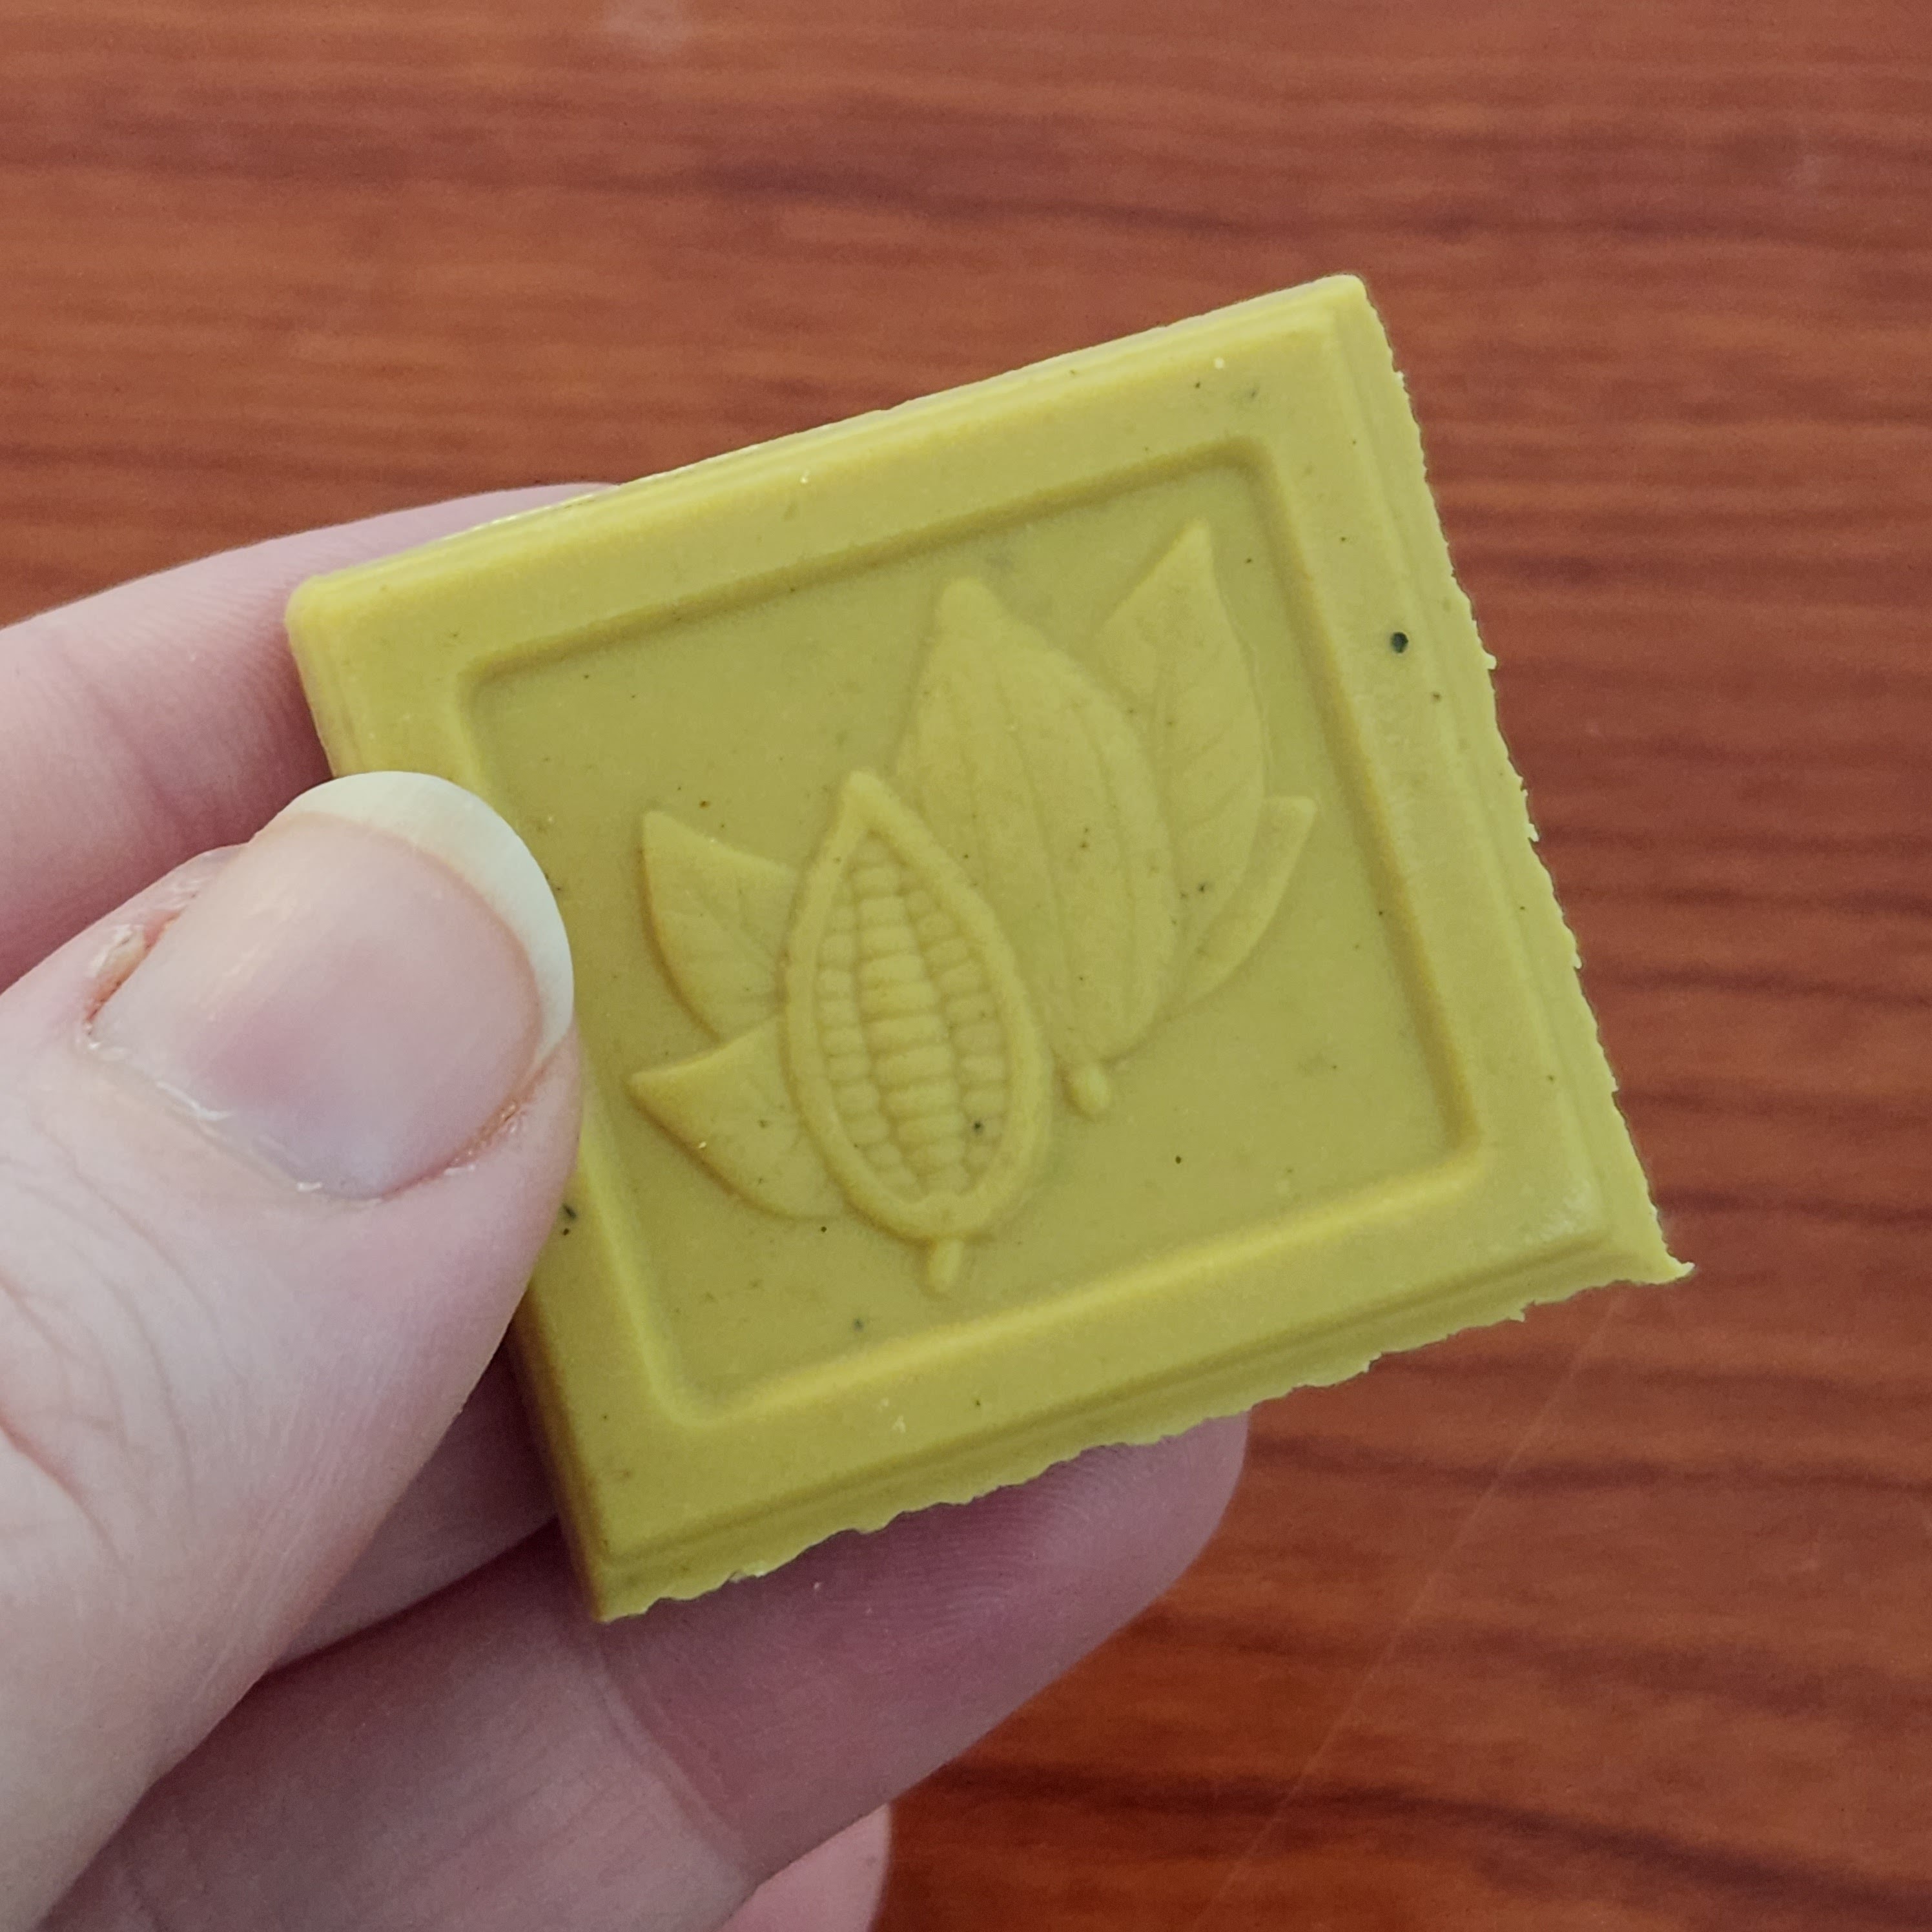
Picture it: Sydney, 2023. A forty-something aspiring chocolatier has begun Easter prep. Having carefully assembled her ingredients, she is ready to prepare the flavoured ganache that will form the centres of dark chocolate eggs. She dons her skull rag and Birkenstocks, and enters her tiny (7x9) galley kitchen.

As she has done many, many times before, she begins the process to make a beautiful, luxurious, white chocolate-based ganache. She stirs with a whisk, making quick, small circles in the centre of the bowl, coaxing the chocolate and other ingredients into emulsion. And just when it should be pulling together, the unthinkable occurs: the ganache splits. In a most epic fashion. First, it just looks grainy, curdled. But as she tries to whisk it back into shape, it gets worse. About a half inch of oil rises to the surface, with the chocolate solids in a putty-like mound at the bottom. She tries all of the tricks to fix it -- using an immersion blender, adding hot cream... Her efforts are futile. 

Let me tell you, I've never seen anything quite like it. The flavoured oil splashed on my clothing, across the counter, onto the stovetop. I left an oily residue on everything I touched. I ran out of paper towels trying to clean it up and then used a dish towel (which I had to hand wash to remove the orange oil before it could be laundered). 

As a final desperate last-ditch effort, I found some leftover white chocolate in my stash, melted that down, and slowly whisked the split ganache into it. This time I did get an emulsion, but it was still grainy. It was like there were small grains of chocolate that just refused to melt out. Despite the fact that it set up, the mouth feel was terrible. It was a failure.

Now, I'm not used to failures in the kitchen. I was baffled. I was stunned. I was deflated. I got in the car and immediately drove to Bulk Barn to buy more white chocolate to try again another day when the chocolate gods (who I assume are Mayan) will favour me.

But man it stuck with me all day. I read about ways to save split ganache and the causes of it. Had I overheated the chocolate? There's a reason we talk about chocolate being in temper. Did I add my flavour and colouring too soon? Was there something wrong with the chocolate itself? Could I whip it and use it on cake? Was there any saving it? Or was that $14 worth of ingredients down the toilet? (Not literally, of course, because that would cause plumbing issues.)

Don't get me wrong, it wasn't the money that bothered me, but the waste of chocolate. Chocolate -- good chocolate -- is precious in a world of confectionary coating masquerading as the real thing. I just couldn't stomach throwing it in the garbage. 

After sleeping on it, I decided to do one last search for techniques to save it. I found one that was unconventional. It suggested chopping up the set ganache, melting it down in a pot directly on the stove, and re-whisking it once it started to melt. It couldn't hurt to try it, so I followed the instructions and watched with vigilance so that the chocolate wouldn't burn. Despite being very effective in creating a good emulsion, it did nothing to sort out the graininess. 

Disappointed, I looked away for a moment to think. There had to be a way to save this ganache. I pride myself on my problem solving, a skill I inherited from my father. No matter the challenge in front of him, he always finds a way to overcome. (He would have made a great engineer.) "Think, Squirrel, think, think, think," I urged myself. And that's when my eyes spied a mesh strainer in the drying rack. Would ganache flow through the tiny holes? Would it still set with some of the solids removed?  With nothing to lose, I poured the entire pot of melted ganache through the strainer and into a bowl. And sure enough, the resulting mixture looked just as smooth as it should have the first time. I grabbed a small spoon and sampled it. All traces of graininess gone. I gave it one last whisk and put it on top of my toaster oven to set while I started a new batch to use in this year's Easter eggs.

You see, this ganache definitely doesn't meet my quality standards for this year's "production run" given everything it's been through (or should I say everything we've both been through together), but at least now I can use it in a dessert. Maybe an orange chocolate tart with a cookie crust...

Some days, being a chocolatier isn't all truffles and pralines. Some days, it's humility and perseverance. 


The orange truffle tart with cookie crumb crust and vanilla bean whipped cream. Not bad for a fail. Tastes like a Creamsicle or Buried Treasure. 


Trendy Flavours

Turn on any baking or dessert challenge on the Food Network and you're likely to find the competitors incorporating ube into their creations. Ube ice cream, ube cake, ube pie, ube donuts... The results are usually a vibrant purple colour. As for the flavour, I can't personally comment, since I've never tried making a yam-based confection or dessert. 

Before ube, it was yuzu (a citrus flavour). And before yuzu, matcha was all the rage. You get the picture.

Now, as I work my way through The Art of the Chocolatier by Ewald Notter, I find that very few of his recipes incorporate what would be considered trendy flavours. The majority are what I would consider to be standards or classics. But there are a few that reflect flavours that were likely trendy at the time of publication in 2011 -- including passion fruit and "exotic" curry pralines. 

I haven't been one for trendy flavours in my chocolate, but during my professional chocolatier program, I got it in my head that one of the recipes I would develop was a matcha truffle. I had forgotten about this idea until recently. Remember that decluttering kick I've been on? Among my baking supplies, I found a bottle of matcha ginger powder I had bought for that very purpose. I remember making a latte with it one day and enjoying it, but the matcha truffle never materialized. You see, the program outlined requirements for different centres and decorations, and as I worked through the combinations, I didn't need another truffle. The matcha ginger powder went into my cupboard for later. And later never came.

Until now.

Today, I was contemplating what to do with some leftover white chocolate. I didn't have a lot of it -- only 42 grams. It wasn't enough to make a bar, but I also didn't want to buy more. So I just stared at it for a bit and that's when I remembered my idea for a matcha truffle. It's a little unconventional to make such a small batch of truffles, but if you understand the ratio of chocolate to cream/butter and have a kitchen scale, it's doable. I dug into the back of my spice cupboard and pulled out the matcha ginger powder.

I tossed the white chocolate into a small bowl and added an appropriate amount of salted butter. Then I melted the two together using a very low heat to ensure the white chocolate didn't burn. I stirred until the two were perfectly combined and then I added some matcha ginger powder. I wasn't sure how much I would need to achieve the right flavour so I started with one rounded dash (side note: if you didn't know, a dash is an actual measurement you can buy measuring implements for dash, pinch, and smidgen). I tested the flavour and then added another rounded dash. Another taste and I was happy with the flavour. The colour, however, was another story.

Any time I've seen matcha, it's been a fairly vibrant green colour. The mixture in front of me looked more grey than green. It was not appetizing. So I did something I don't normally do -- I took some green food colouring out of the cupboard and added one drop to my tiny bowl of ganache. It mixed in quickly and made the colour slightly more palatable. 

I let the ganache set up before scooping and rolling the truffles. My tiny bowl of ganache produced 4 truffles, which I rolled in a combination of icing sugar and matcha ginger powder. 

Verdict? Not bad. The ginger hits you first and then mellows into the matcha. The powdered sugar helps to balance the "spice" of the ginger and the "earthy bitterness" of the matcha. The texture of the ganache isn't quite perfect because of the matcha ginger powder (and maybe the food colouring), but it isn't unpleasant. Next time (if there is one), I might try a cream-based ganache. 

All things considered, I think this was a pretty good flavour combination. And I'm happy to finally have taken the time to bring the idea to life. 

And that's what this year of chocolate is all about.